
Contents
Key facts:
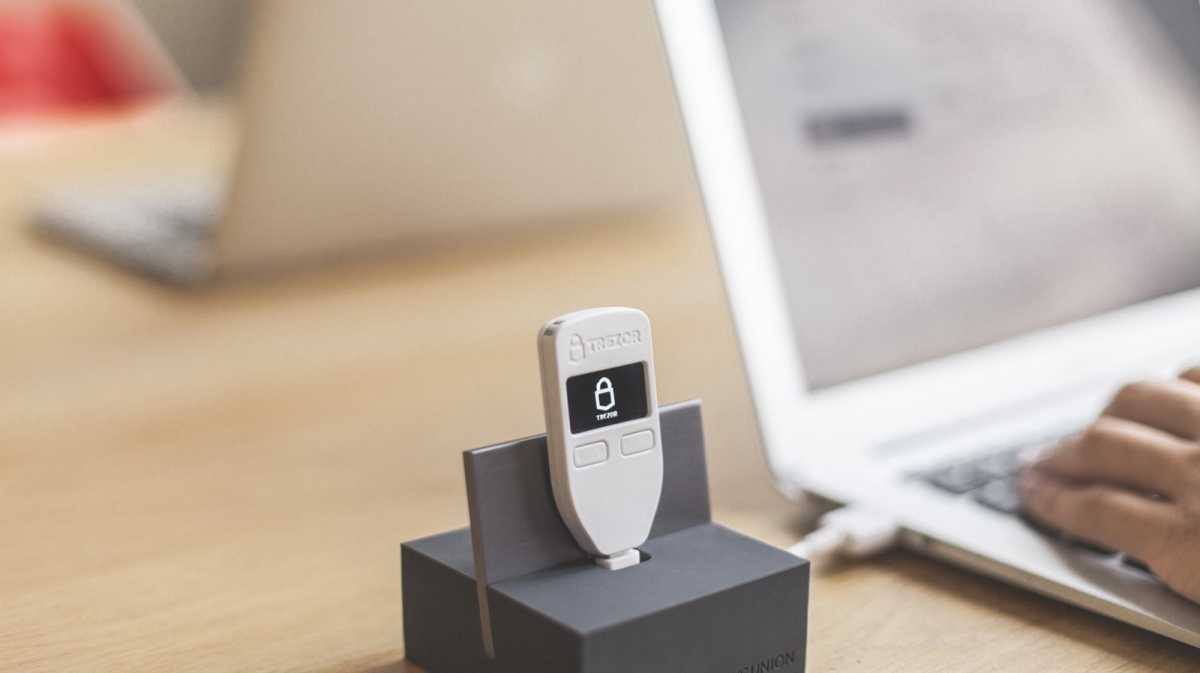
Before starting, the user must verify that the packaging of the portfolio is sealed.The device SatoshiLabs offers support for more than a thousand cryptocurrencies tokens and ERC-20.Maintain the safety and good slip of the cryptocurrencies are habits that you should develop any enthusiast of this ecosystem. The handling of bitcoins, or ethers, for example, have to take it very seriously, since it is intangible assets, but that we should preserve in the best way. It is for this reason that we show you below how to perform the initial configuration of your wallet Trezor One, a popular portfolio of hardware manufactured by SatoshiLabs.The portfolios physical cryptocurrencies, as the wallet Trezor One, are designed especially to raise levels of safety, since the private keys are stored in your own wallet and not on a computer or mobile device.The portfolio does not remain connected to the Internet or to a blockchain, but to sign the transactions you must be connected to a computer online. The wallet Trezor One is a lightweight device, and with a friendly interface that hit the market in the year 2014. He is currently one of the portfolios physical most used in the market.
Unpacking the wallet Trezor One
The first aspect that calls the attention, to begin setting up the wallet Trezor One, is that your box comes sealed with a strong adhesive, and two stamps with holograms to validate its authenticity. The manufacturer remember that if some of the seals are broken or the box is violated, the user must communicate with the company or with the supplier direct.When you open the packaging, this brings with it the wallet Trezor One, a USB cable, two cards to write down the 24 words of recovery, a manual of instructions, a little tape to transport it and four calcomanias o stickers with the achievement of the brand Trezor.The box includes the wallet Trezor One, a USB cable, two cards to write down the 24 words of recovery, an instruction manual, a belt for carrying and four calcomanias o stickers. Photo: Rafael Gómez Torres.To begin the process of setting up the portfolio must connect to a computer with Internet connection, as this process is done on-line through the web site of Trezor. For the writing of this article was used the Google Chrome browser, although it is also compatible with Mozilla Firefox. A first attempt configuration through the browser Microsoft Edge could not be performed since we do not support.When you connect it, the wallet Trezor One turns on its monochrome screen with the logo of the brand. Then the user must enter in trezor.io/start to start the configuration process.
Welcome and selection of the wallet
Once on the page, the user is welcome and shows the message “Choose your device to continue”. At this point are the two options of wallets Trezor that exist in the market, the Trezor One and the Trezor model T. In this case we will choose the wallet Trezor One to start with the configuration.Before you begin the configuration of the wallet choose the appropriate model, in this case the Trezor One. Source: Trezor.When you click, a notification appears in which the user must verify that the hologram provided in the packaging is genuine as the one that is displayed on the screen. The company stresses this check with the following message.The manufacturer emphasizes the verification of the seals with hologram on the packaging to validate its authenticity. Source: Trezor.”If you are missing the seals of the hologram, or have a different aspect to the previous video, immediately contact our support service. When we receive the information, we will analyze and we will respond to you. We do not recommend using the device meanwhile,” reads the website. Once verified that the seals are original, you need to select the button “continue to portfolio”.Completion of this verification, the user must install in your computer, the program Trezor Bridge, an application designed for the wallet Trezor One to interact with the supported browsers. This installation is notified and the person only must continue with the process, but for it you have to disconnect the portfolio of the computer. It is also possible to install an extension for Chrome.
Installation of the firmware
The wallet Trezor One, just like the model T, it is sent to users without any type of firmware installed. The idea is that the portfolio starts to work with the latest version of the software to maximize the safety of the device. This measure of transparency also gives the user greater confidence because it is he and only he who for the first time is manipulating the wallet Trezor One.In the installation screen, SatoshiLabs remember that the authenticity of the firmware is checked during the startup of the device. In the event that the program is not correctly signed by SatoshiLabs, then the wallet will display a warning on your screen.Once the connection is established the page Trezor welcomes you to start to install the firmware of the device. Source: Trezor.With the portfolio reconnected to the computer, as to begin the download and installation process, you only need to press the button “install firmware” from the web site wallet.trezor.io, a page that is redirected automatically.On the screen you will see a progress line that shows you the progress of the download and subsequent installation. While this is going on the screen of the computer, in the wallet Trezor One shows two gears in motion to inform you that you are installing the latest official firmware. For purposes of this article we performed the installation of the firmware 1.8.0 and then did an upgrade to 1.9.0.The download and installation of the firmware of the wallet is done in a few seconds. Source: Trezor
New portfolios and key words
At the end of the installation of the firmware, the next step in the configuration of the wallet Trezor One is to select one of two available options: create a portfolio new or retrieve an existing one. In our case we will select create a new portfolios. The option of recovering a portfolio already existing is oriented to those cases in which the user seeks to restore, with their private keys, a new wallet and have access to their funds.Once you have installed the latest firmware, you must select between create a portfolio new or restore another. In our case we will choose create a new portfolios. Source: Trezor.At this point the main menu will appear to manage the funds and create a backup. By doing so, you will generate the keywords that shall be entered in the books sumistradas on the packaging. These 24 words are displayed, one at a time, twice in the screen of the wallet Trezor One, not on the screen of the computer. Keep good guard of this information is vital to ensure the safety of the funds.Remember to set the words of recovery device in case of loss, theft, or loss. Source: Trezor.The annotation must be in the exact order corresponding to each block from the number 1 to 24. It is random words in English that generally range from three letters to eight letters. The words move on the screen only when the user presses the “next” button or following in the portfolio.
Security PIN and name of the wallet
Once the process is complete, the key words, create a security PIN to access the device every time you go to trade with him. On the screen of the computer will appear nine squares with a dot in the center, simulating a keypad numeral, but without displaying the digits. These will be displayed randomly in the wallet Trezor One. The order of the digits will vary each time you log in to the device.To maximize the security of the wallet can be configured as a PIN and have access to the device once connected. Source: Trezor.To set the PIN you just need to choose a key by selecting the boxes corresponding to the numbers 1 to 9. In this case, we have established a key of six digits. To confirm the PIN then click on continue.If you want, you can assign a name to the wallet Trezor One. The idea is to identify it and differentiate it from other purses. The name you choose will appear along with the word Trezor on the home screen of the wallet each time that you connect to the computer. This name can be changed when you feel relevant. Ready, the wallet Trezor One is already configured to operate.Once you have configured the wallet, since you can send and receive cryptocurrencies using your Trezor One. At the top are the tabs: transactions, send, receive, signing, and verification. In the left part are displayed the accounts related to each criptomoneda you want to operate. Source: Trezor.The configuration of the Trezor One is done, without any inconvenience, in 10 to 15 minutes. The more time is used to seat the key words in the book arranged in the packaging.When the process is completed, the purse will be ready to send or receive cryptocurrencies. At the top of the computer screen are the tabs to send, receive, transactions, and signature verification. In the left part of the menu will display the accounts that you, as the user, you can create, one for each currency in particular.